How to Crochet a Granny Square (Step-by-Step for Beginners)
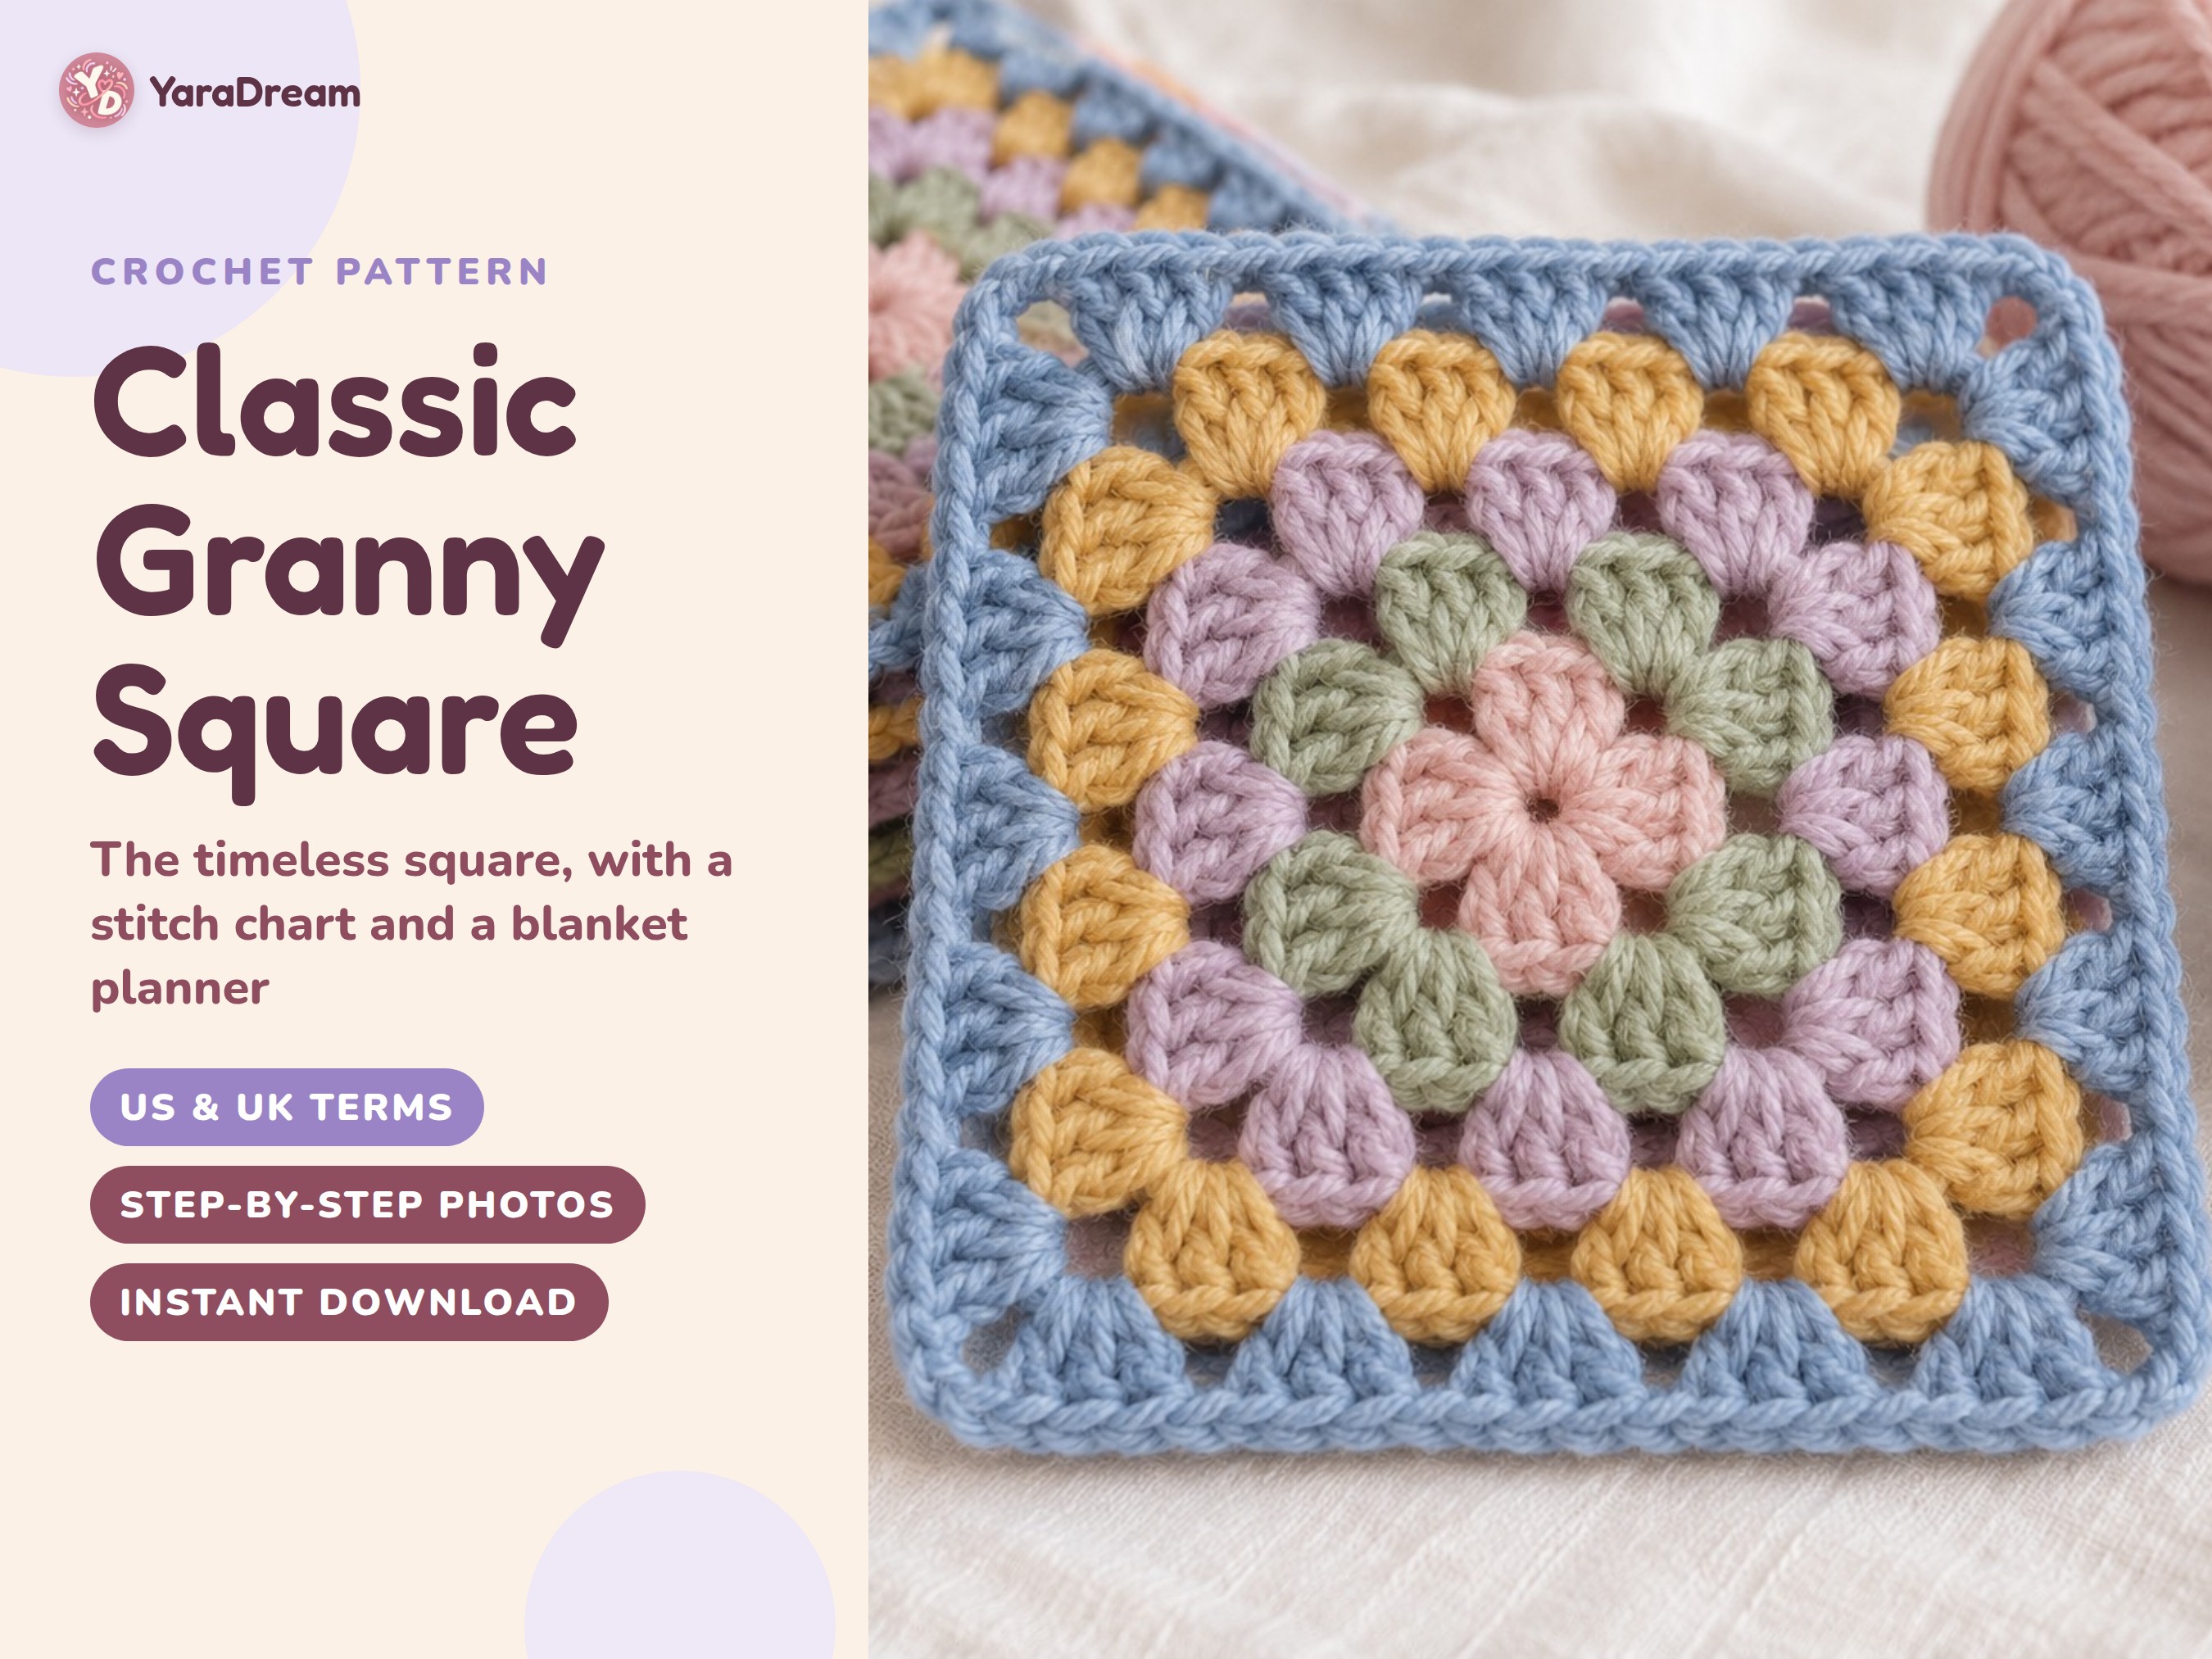
How to Crochet a Granny Square
The granny square is one of the most iconic crochet motifs. It’s beginner-friendly, portable, and perfect for scraps of yarn. Once you know how to make one, you can join them into blankets, bags, cushions, and even garments.
What you’ll need
- Worsted weight yarn (any color)
- 5 mm (H-8) crochet hook
- Scissors
- Yarn needle for weaving in ends
Abbreviations (US terms)
- ch = chain
- sl st = slip stitch
- dc = double crochet
- cl = cluster (3 dc in same space)
Step 1: Make the center ring
Chain 4 and slip stitch into the first chain to form a small ring. Chain 3 (counts as your first double crochet).
Step 2: Work the first round
Into the ring, work: 2 dc, ch 3, (3 dc, ch 3) three more times. Join with a slip stitch to the top of the beginning chain-3. You should have four clusters of 3 dc separated by chain-3 corners.
Step 3: Build the next rounds
Chain 3, turn your work. In each chain-3 corner space from the previous round, work: 3 dc, ch 3, 3 dc. In the spaces between clusters along the sides, work 3 dc. Join each round with a slip stitch.
Repeat until your square reaches the size you want.
Tips for neat squares
- Keep your tension even so the square lays flat.
- If your square curls, try going up one hook size.
- Weave in ends as you go to avoid a big finishing job.
Turn your granny squares into a blanket, a tote bag, or a set of coasters. Happy crocheting!
You may also like
Best Crochet Hooks for Beginners (2026)
How to Crochet a Blanket for Beginners
AdSense placeholder — set PUBLIC_ADSENSE_CLIENT and PUBLIC_ADSENSE_SLOT env vars to show ads.